FleetCheck can allow you to set up automated emails to be sent to drivers or a department when something specific happens. For example, when a vehicle is added you may want an email to go to a person/department so they know to tax the vehicle etc.
This can be set up within ‘Message Centre’ under the ‘More’ tab situated on the upper Menu bar.
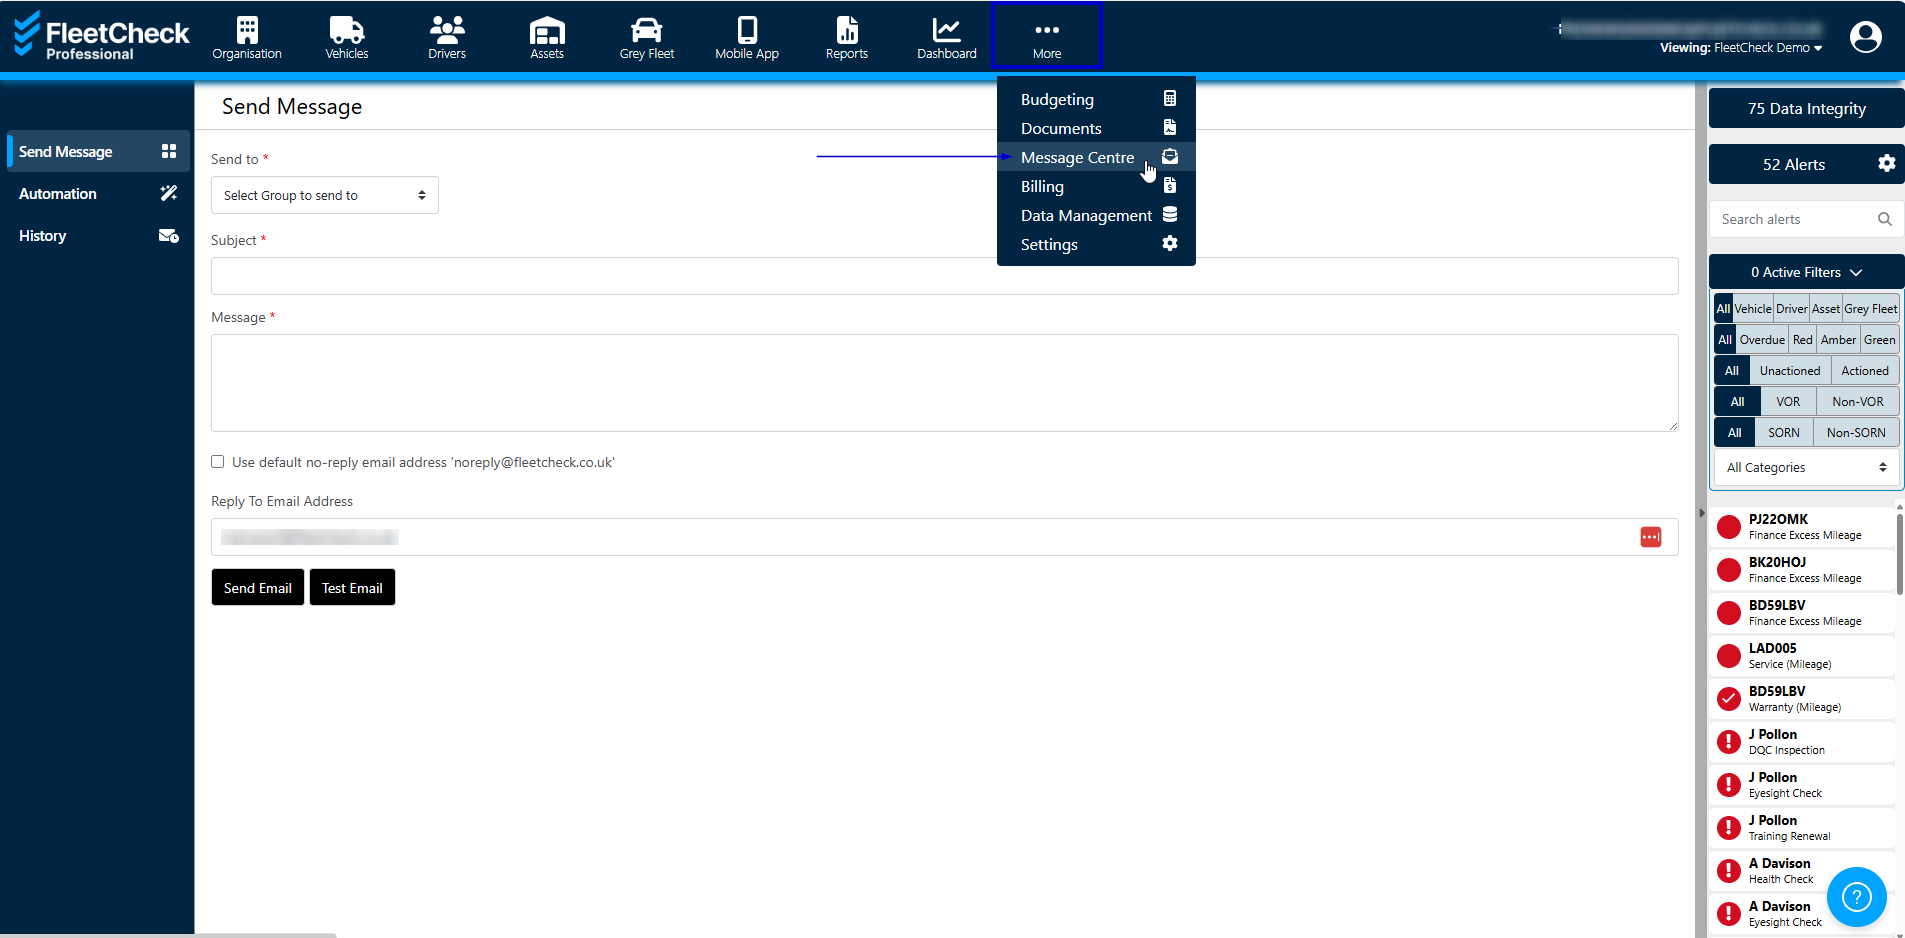
It is then a case of making your way through the page to send a message.
To use the Automation functionality -
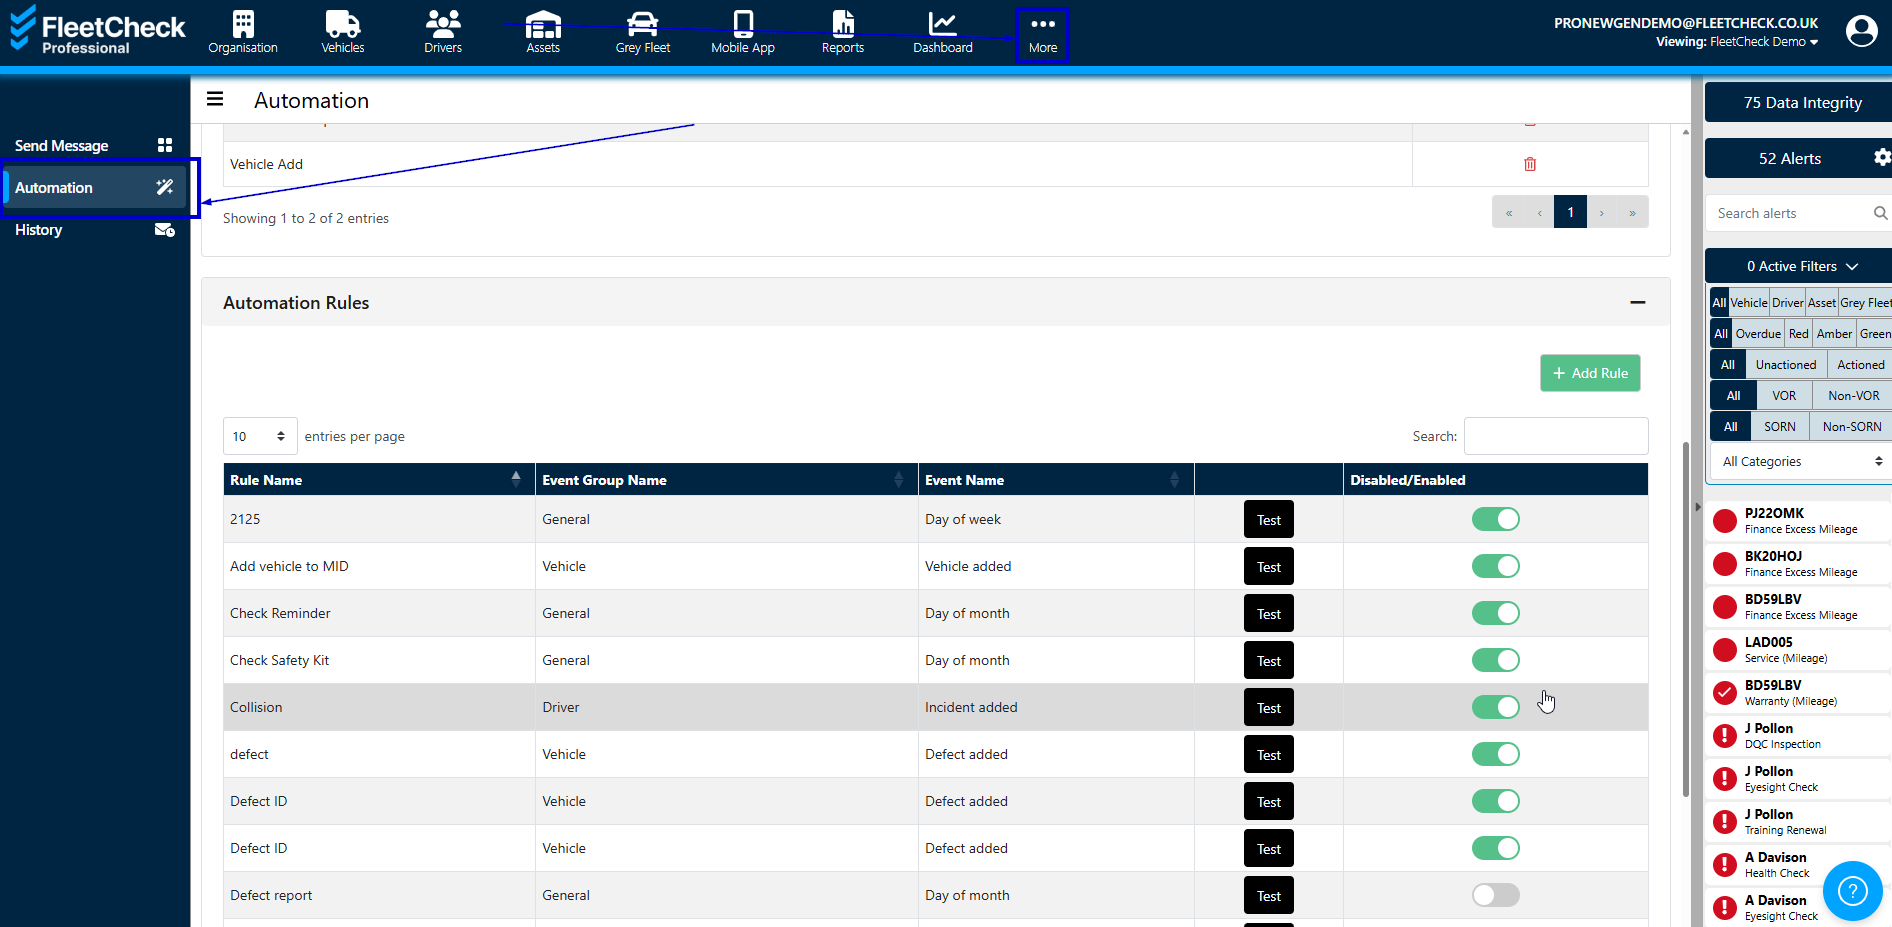
Your first requirement would be to Add and Email Template.
Click the ‘add email template’ button and give the email a subject and enter a message in the body. You are also able to set the template up to include names, vehicle reg etc using the ‘system field’ drop-down and also add reports, documents to automated emails.
When you are happy with the email template, click ‘save’ and then click the ‘close’ button.
Secondly, you create a Recipient List.
Next, you will need to click the ‘add new recipient list’ button.

Give the recipient list a relevant name and then you can choose who you want to add using all driver, specific categories, sites, drivers or an email address. When adding recipients, make sure you click the little Green ‘add’ buttons.
Once you are happy with your list, click the ‘save’ button and then the ‘close ‘ button.
And the Third requirement is to create a rule.
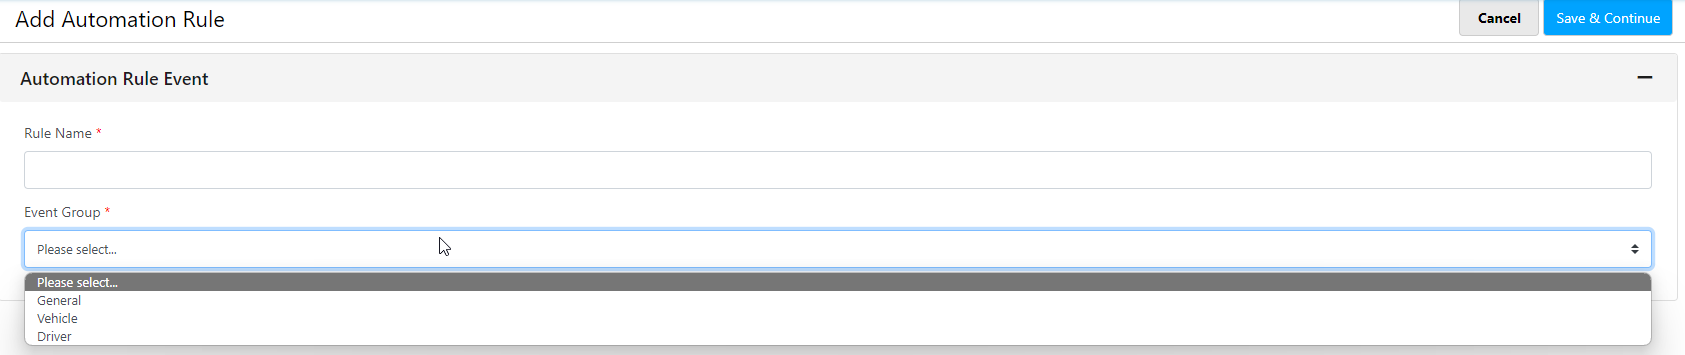
 Give the rule a name which is relevant, such as ‘tax reminder’ or ‘driver check reminder’ and choose the area which is relevant and then the event.
For example, a vehicle added or removed would be in the ‘vehicle’ area or if you want a generic email to go weekly or monthly, the area would be ‘general’.
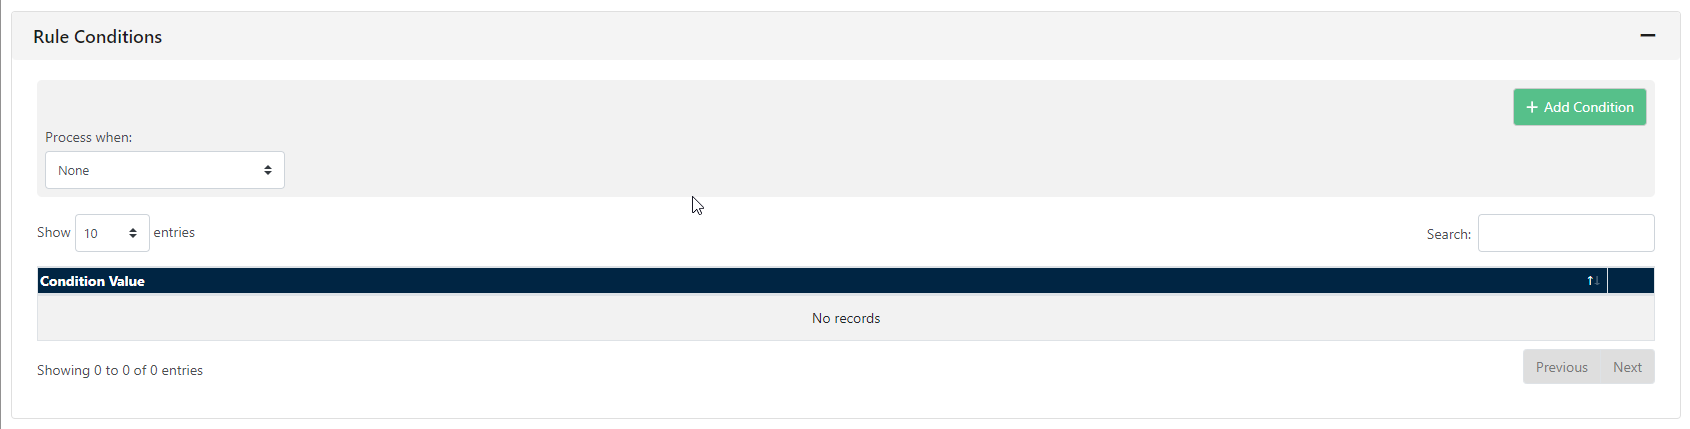
Once you are happy with the rule, click ‘next step’ where you will get to the ‘conditions’ page. You can add conditions for the ‘vehicle’ area only based on the category, site or status. If you add conditions and actions, remember to click the little ‘add’ button.
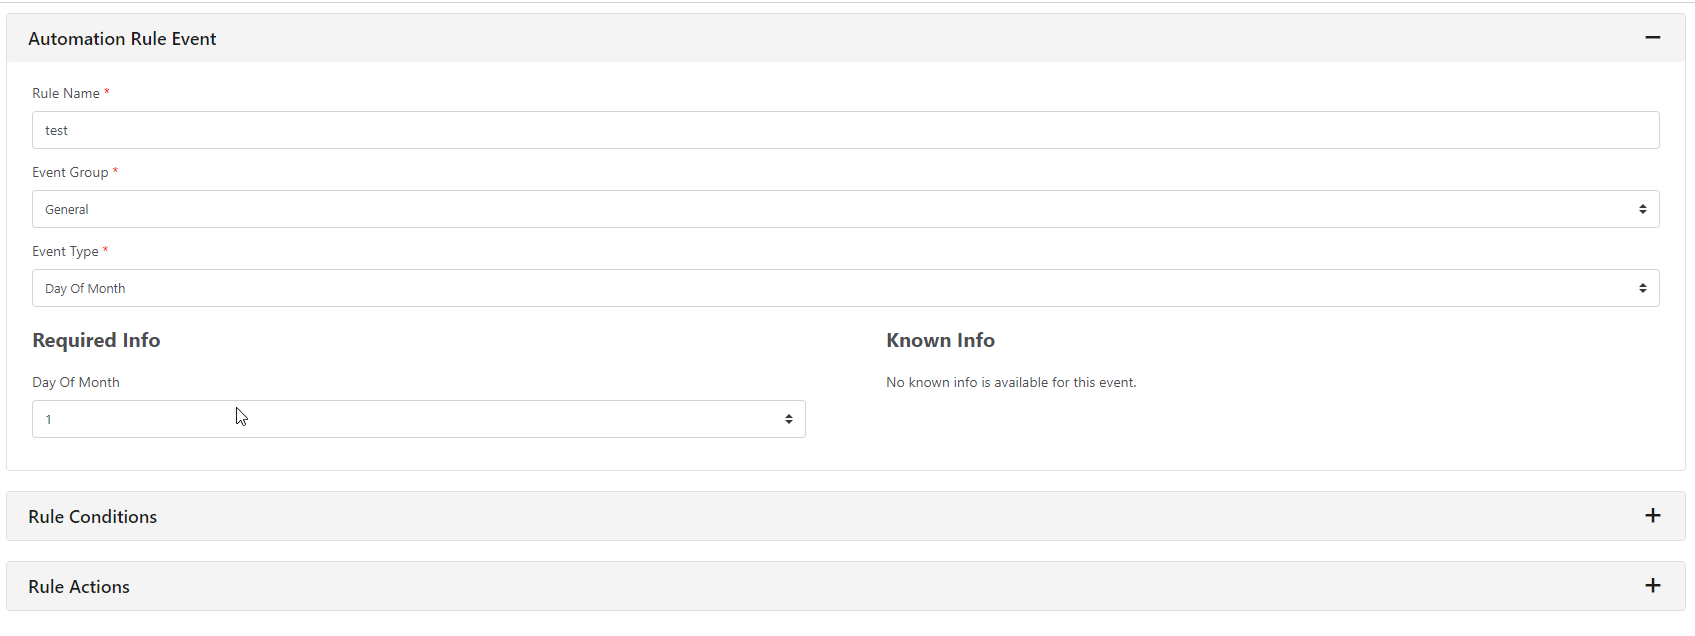
When you are happy with the conditions, click ‘Save'.

You have now set up your automated email and can click the ‘finish’ button.
You can enable and disable the rules at any time using the toggles situated next to the Rules.
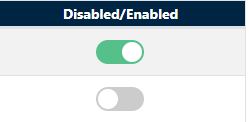
If enabled, the system will automatically email the chosen parties when a certain criteria set in the rules has been met.
History details the emails the system